Visual Feedback: Dialogs, Snackbars and Toasts
Providing visual feedback to the user is very important. In this tutorial, you’ll learn about Dialogs, Snackbars, and Toasts. By Jemma Slater.
Showing the Custom Dialog
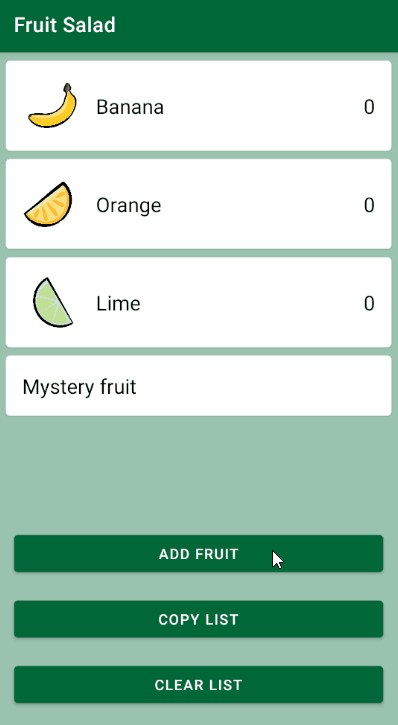
Now, you need to show the dialog. Go back to MainActivity.kt and find the card with ID card_mystery. This card already has a click listener assigned that calls loadSurpriseDialog(), which has not yet been implemented.

Add the following code in loadSurpriseDialog():
CustomFruitDialog().apply {
 listener = object : CustomFruitDialog.Listener {
   override fun onDialogButtonClicked() {
     dismiss()
   }
 }
}.show(supportFragmentManager, TAG_FRUIT_DIALOG)
This creates an instance of your newly defined CustomFruitDialog, implements the click listener to dismiss the dialog and shows the dialog.
Build and run. Tap the Mystery fruit card to see the custom dialog.

Progress Indicators
It’s common for there to be periods of short delay while a user interacts with your app. Perhaps the app needs to make a request to a server and wait for it to return the information needed to populate the fields on the screen. Or maybe it needs to retrieve data from a database and do some quick processing to filter out irrelevant entries. These tasks might take only seconds, but if there is nothing to indicate the app is working behind the scenes, the user could be left wondering if the app is even working at all.
This is where Progress Indicators come in. They fill the time with a moving indicator on the screen, reassuring the user that the app has registered the request and is working on it.

Adding a Delay
Imagine your app must call a server before it can show the mystery fruit. It could take a couple of seconds to get the result. Use Handler to force a delay before showing the dialog, emulating the real-world example.
In the project, navigate to loadSurpriseDialog() in MainActivity.kt. Wrap your existing CustomFruitDialog implementation with the following code:
Handler(mainLooper).postDelayed(Runnable {
  // Your existing CustomFruitDialog() implementation
}, DELAY)
This code uses Handler to execute the Runnable block after the defined delay. DELAY is a constant defined in the companion object at the bottom of the file. It is currently set to 2,000 milliseconds (two seconds).
Build and run. Tap the Mystery fruit card. You’ll notice that without any indication of progress, even two seconds can feel like quite a long time — long enough to start wondering if maybe you should tap the button to try again.
Adding the Progress Indicator
To add a progress indicator, you need to declare it in the XML file. Open activity_main.xml and replace TODO: add progress bar with this:
<ProgressBar
 android:id="@+id/progress"
 style="@android:style/Widget.Material.Light.ProgressBar.Large.Inverse"
 android:layout_width="wrap_content"
 android:layout_height="wrap_content"
 android:visibility="gone"
 app:layout_constraintBottom_toTopOf="@id/button_add"
 app:layout_constraintEnd_toEndOf="parent"
 app:layout_constraintStart_toStartOf="parent"
 app:layout_constraintTop_toBottomOf="@id/card_mystery" />
This adds a Progress Bar, which displays as a circle by default. This view has android:visibility="gone", so it’s initially hidden and you can choose when to show it from the code.
Although the Material Component is not available in a stable channel yet, you can still use Material styles to keep the theme consistent. If you wanted to show a horizontal bar instead, you could set a style such as “@android:style/Widget.Material.Light.ProgressBar.Horizontal”.
Find loadSurpriseDialog() in MainActivity.kt. Add the following line to the beginning of the function:
progress.visibility = View.VISIBLE
This makes the progress bar visible on the screen. The progress bar is indeterminate by default, so once it’s visible it will keep spinning until it’s hidden. Add the following to the top of the Runnable block:
progress.visibility = View.GONE
This hides the progress bar again once the delay elapses. Your code looks like this:

Build and run. Tap the Mystery fruit card. Now, you’ll see the indicator and should feel assured the app has registered the button tap and is working to complete your request.

Snackbars
A Snackbar is a useful little panel that pops up at the bottom of the screen to display a short piece of feedback to the user. It can either persist until dismissed by the user or show for a set amount of time. Snackbars can also display an optional button to trigger an action when tapped.
Earlier in the tutorial, you added a Simple Dialog to let the user add a fruit item. You might remember that you replaced setItems() when you added the Confirmation Dialog. Now, you’ll revert this to show the Simple Dialog again.
Replace the following code in showAddFruitDialog():
.setNeutralButton(resources.getString(R.string.dialog_cancel)) { dialog, _ ->
      dialog.cancel()
    }
.setPositiveButton(resources.getString(R.string.dialog_add_fruit_positive_button))
    { dialog, _ ->
      checkedItems.forEachIndexed { fruitItem, isChecked ->
        if (isChecked) updateFruitQuantity(fruitItem, true)
      }
      dialog.dismiss()
    }
.setMultiChoiceItems(fruitItems, checkedItems) { _, position, checked ->
      checkedItems[position] = checked
    }
with these lines:
.setItems(fruitItems) { dialog, selectedFruitItem ->
     updateFruitQuantity(selectedFruitItem, true)
     dialog.dismiss()
     showSnackbar(selectedFruitItem)
   }
As you can remember, the item click listener is already set up to call showSnackbar(). Your code now looks like this:

Adding a Snackbar
When the user selects fruit from the dialog, the dialog closes and the quantity gets updated. It’s possible the user might not notice the quantity value changing or might accidentally tap the wrong type of fruit. In both of these cases, a Snackbar can provide information and assurance to the user by displaying feedback in the form of a confirmation message and providing an “undo” action.
Now, open MainActivity.kt and find showSnackbar().

Replace TODO in showSnackbar() with the following:
val snackbarText = getString(R.string.snackbar_fruit_added, fruitItems[selectedFruitItem])
Snackbar.make(layout_main, snackbarText, Snackbar.LENGTH_LONG)
   .setAction(R.string.snackbar_undo) {
     updateFruitQuantity(selectedFruitItem, false)
   }
   .show()
First, this code creates the string value snackbarText. Here, it uses the position of the selected fruit item from the dialog to get the name from the list of fruits. This name is then inserted into the string resource value for the Snackbar to display.
Snackbar.make() creates a Snackbar with a parent view from which the Snackbar can find an ancestor ViewGroup in which to display itself, the text to be displayed and how long to display it. There are three default options: LENGTH_LONG, LENGTH_SHORT and LENGTH_INDEFINITE.
FloatingActionButton, it’s recommended to use a CoordinatorLayout as the container for your screen layout. This allows the system to handle moving the other components up the screen when displaying the Snackbar and provides extra swipe-to-dismiss functionality.
In this case, you want to show an undo action. setAction() takes the string for the button, and a click listener which resets the previously updated fruit quantity value.
Finally, show() displays the Snackbar on the screen.
Build and run. Tap Add fruit and select a fruit item from the dialog. The Snackbar appears at the bottom of the screen. If you tap undo, you’ll see the quantity numbers reduce accordingly.