New Scanning and Text Capabilities with VisionKit
VisionKit comes with new Scanning and Text Capabilities. In this tutorial, you’ll learn how to use Apple’s latest VisionKit update to take advantage of the new capabilities. By Warren Burton.
Making a List
You’ll use SwiftUI to build a table and then put that table in the app’s second tab, Use.
Creating a Table
In the Project navigator, select Views, then add a new SwiftUI View file named ListOfThings.swift.
Delete everything inside ListOfThings, then replace it with:
@EnvironmentObject var datastore: DataStore

var body: some View {
  List {
    ForEach(datastore.collectedItems, id: \.id) { item in
      // 1.
      HStack {
        Label(
          item.string ?? "<No Text>",
          systemImage: item.icon
        )
        Spacer()
        ShareLink(item: item.string ?? "") {
          Label("", systemImage: "square.and.arrow.up")
        }
      }
    }
    // 2.
    .onDelete { indexset in
      if let index = indexset.first {
        let item = datastore.collectedItems[index]
        datastore.deleteItem(item)
      }
    }
  }
}
This code generates a List. The table content is bound to the @Published array collectedItems from the DataStore instance.
- Each cell has a label with an icon at the leading edge and a share icon at the trailing edge. A touch gesture presents a standard iOS share sheet.
- A standard swipe gesture deletes the stored item.
Hosting a Table
Once again, you need to embed ListOfThings in a UIHostingController. In the Project navigator, go to ViewControllers and then open ListViewController.swift.
Insert this import above ListViewController:
import SwiftUI
Add this code inside ListViewController:
override func viewDidLoad() {
  super.viewDidLoad()

  let datastore = DataStore.shared
  let listController = UIHostingController(
    rootView: ListOfThings().environmentObject(datastore)
  )
  view.pinToInside(listController.view)
  addChild(listController)
  listController.didMove(toParent: self)
}
That’s the same pattern you used when adding Highlighter to DataScannerViewController‘s overlay container.
Build and run.

Scan a book barcode and tap on the recognized region. Then, scan a piece of text. If you can’t find any of your own, use the ones above.
Now when you tap on a recognized item, it’s added to the data store. Switch to the Use tab, and you’ll see the items listed.
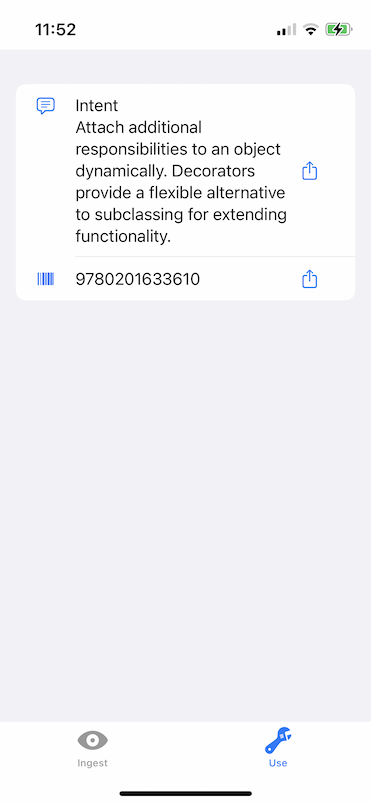
Touch any item and share the content using a standard share sheet.

Congratulations! You’ve built up the core of your app. You can scan barcodes and text and share the scanned content. The app isn’t quite customer-ready, so next, you’ll perform tasks to make it ready for a wider audience.
Working with Availability and Permissions
In this section, you’ll handle some scenarios where the scanner might not start. There are two main reasons:
- The user’s device is too old and doesn’t support DataScannerViewController.
- The user has declined permission to use the camera or has removed permission to use the camera.
You’ll deal with handling that availability now.
Handling Device Support Checks
You need some UI to display to users when their devices aren’t supported or available. You’ll create a general-purpose banner to use for warning purposes.
In the Project navigator, select Views and add a new SwiftUI View file named FullScreenBanner.swift.
Replace everything inside FullScreenBanner.swift below import SwiftUI with:
struct FullScreenBanner: View {
  var systemImageName: String
  var mainText: String
  var detailText: String
  var backgroundColor: Color

  var body: some View {
    Rectangle()
      .fill(backgroundColor)
      .overlay(
        VStack(spacing: 30) {
          Image(systemName: systemImageName)
            .font(.largeTitle)
          Text(mainText)
            .font(.largeTitle)
            .multilineTextAlignment(.center)
          Text(detailText)
            .font(.body)
            .multilineTextAlignment(.center)
            .padding(EdgeInsets(top: 0, leading: 20, bottom: 0, trailing: 20))
        }
          .foregroundColor(.white)
      )
      .edgesIgnoringSafeArea(.all)
  }
}

struct FullScreenBanner_Previews: PreviewProvider {
  static var previews: some View {
    FullScreenBanner(
      systemImageName: "location.circle",
      mainText: "Oranges are great",
      detailText: "Lorem ipsum dolor sit amet, consectetur adipiscing elit",
      backgroundColor: .cyan
    )
  }
}
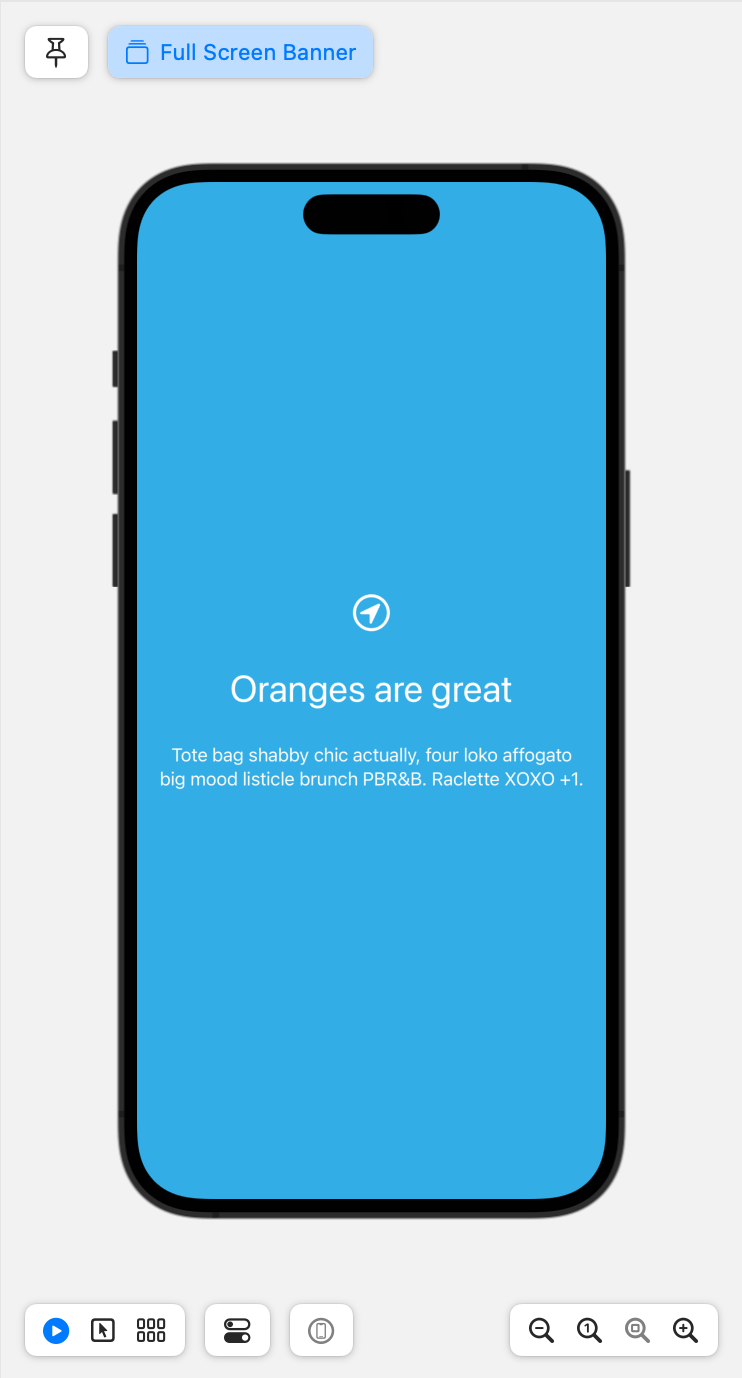
You declare a View with a vertical stack of one image and two text blocks. Display the Preview canvas to see what that looks like:
Now, you’ll add a device support check to your application logic.
In the Project navigator, in ViewControllers, open ScannerViewController.swift.
Add this method and property to ScannerViewController:
var alertHost: UIViewController?

func cleanHost() {
  alertHost?.view.removeFromSuperview()
  alertHost = nil
}
In cleanHost, you remove any previously installed view from the view hierarchy of ScannerViewController.
Add this import below import VisionKit:
import SwiftUI
Now add these two similar methods to ScannerViewController:
func installNoScanOverlay() {
cleanHost()
let scanNotSupported = FullScreenBanner(
systemImageName: "exclamationmark.octagon.fill",
mainText: "Scanner not supported on this device",
detailText: "You need a device with a camera and an A12 Bionic processor or better (Late 2017)",
backgroundColor: .red
)
let host = UIHostingController(rootView: scanNotSupported)
view.pinToInside(host.view)
alertHost = host
}
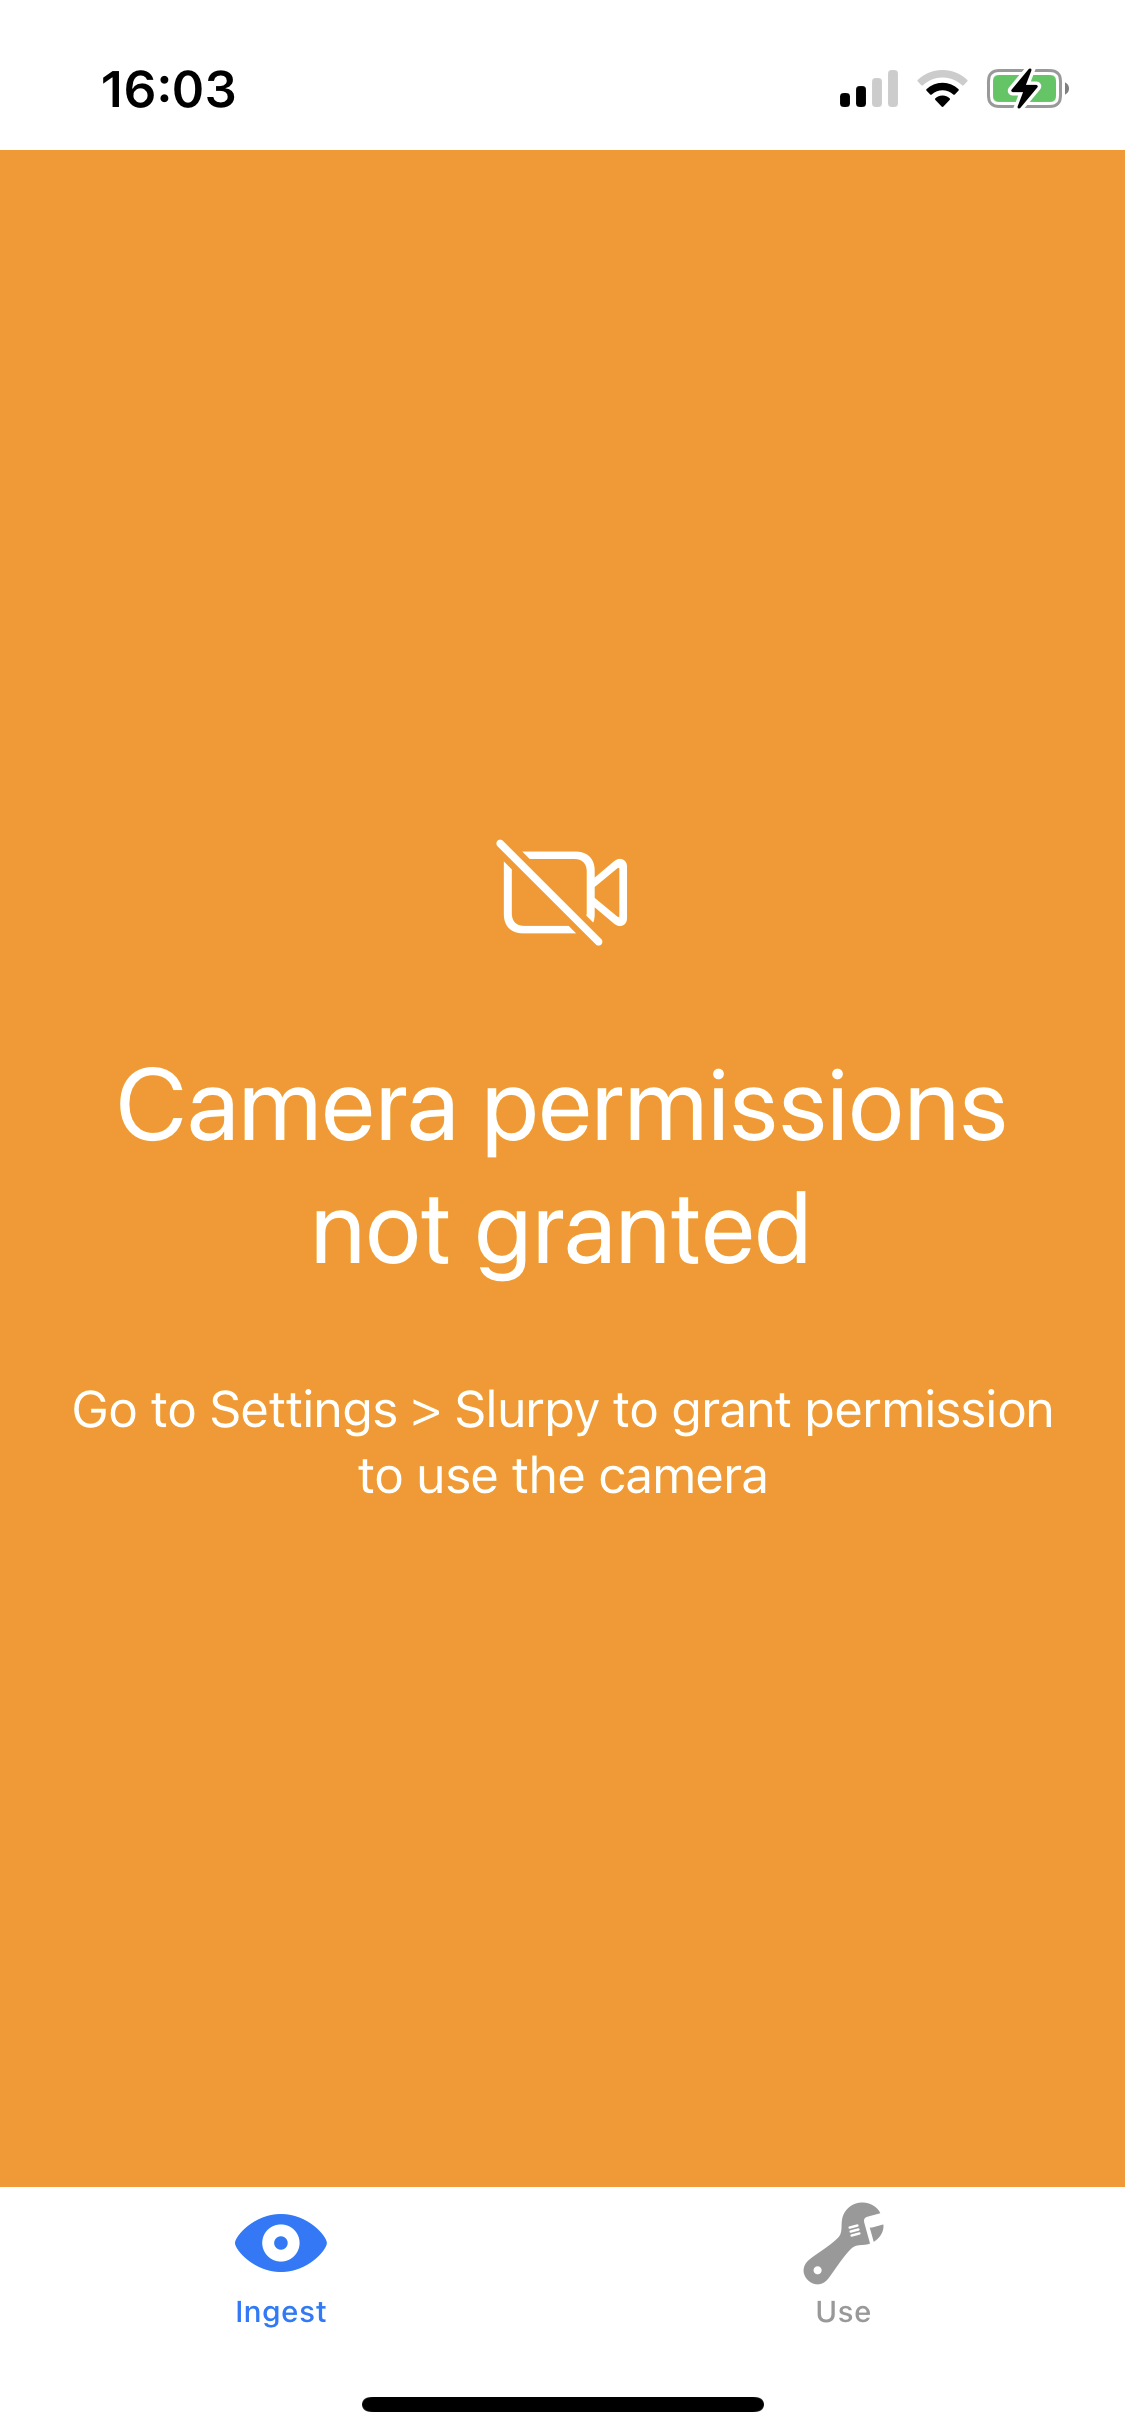
func installNoPermissionOverlay() {
cleanHost()
let noCameraPermission = FullScreenBanner(
systemImageName: "video.slash",
mainText: "Camera permissions not granted",
detailText: "Go to Settings > Slurpy to grant permission to use the camera",
backgroundColor: .orange
)
let host = UIHostingController(rootView: noCameraPermission)
view.pinToInside(host.view)
alertHost = host
}
These two methods configure a FullScreenBanner and then place that View into the view hierarchy.
Then add this code to ScannerViewController:
var scanningIsSupported: Bool {
  false
  // DataScannerViewController.isSupported
}

var scanningIsAvailable: Bool {
  DataScannerViewController.isAvailable
}
DataScannerViewController has isSupported, a static property that you can use to query whether the device is up to date. For this run-only, you ignore it and return false so you can test the logic.
Finally, you must ensure you don’t install the scanner for a nonsupported device to prevent a crash.
Locate installDataScanner in ScannerViewController. At the top of installDataScanner, add this code at the comment // add guards here:
guard scanningIsSupported else {
  installNoScanOverlay()
  return
}

guard scanningIsAvailable else {
  installNoPermissionOverlay()
  return
}
Those two guards prevent you from instantiating DataScannerViewController if the preconditions aren’t met. Camera permissions can be withdrawn at any time by the user, so you must check each time you want to start the camera.
Build and run. You’ll see the view ScanNotSupported instead of the camera.

Go back to var scanningIsSupported to remove the mock Boolean value.
- Delete the line
false. - Uncomment the line
DataScannerViewController.isSupported.
Build and run.
At this point, you have the option of going to Settings > Slurpy on your device and switching off Allow Slurpy to Access Camera to observe the no permission view in place. If you do, remember to switch permission back on to continue with the tutorial.
Stopping the Scanner
When working with any iOS camera API, it’s good practice to shut the camera down when you finish using it. You start the scanner in viewDidAppear, so now you’ll stop it in viewWillDisappear.
Add this code to ScannerViewController:
func uninstallDatascanner() {
  guard let datascanner else {
    return
  }
  datascanner.stopScanning()
  datascanner.view.removeFromSuperview()
  datascanner.removeFromParent()
  self.datascanner = nil
}

override func viewWillDisappear(_ animated: Bool) {
  super.viewWillDisappear(animated)
  uninstallDatascanner()
}
In uninstallDatascanner, you stop DataScannerViewController and then remove it from the view. You stop using resources that you no longer need.