Advanced Charles Proxy Tutorial for iOS
Get more out of Charles Proxy by learning advanced features like mapping responses to local files, automating requests and writing logs. By Emad Ghorbaninia.
Using Charles in a Team
Charles offers several features that help testers and developers work together. You already learned about sharing sessions with Auto Save, but there are other ways to send Charles data to others. You can also send your Charles settings or import someone else’s, so all the members of a testing team can use the same setup.
Sharing Sessions
In Charles, when you right-click one of the requests, you see these options:
- Copy URL: Copies the actual URL.
- Copy cURL Request: Copies the cURL request that contains all the data for the request, including headers.
- Copy Response: Copies the response content.
- Save Response: Saves the response content.
- Export Session: Exports the whole session in your choice of formats.

Sharing Settings
As you might have noticed, Charles offers options to import and export almost everything, especially the configurations for the tools. Try either of the following to share a tool configuration from Charles:

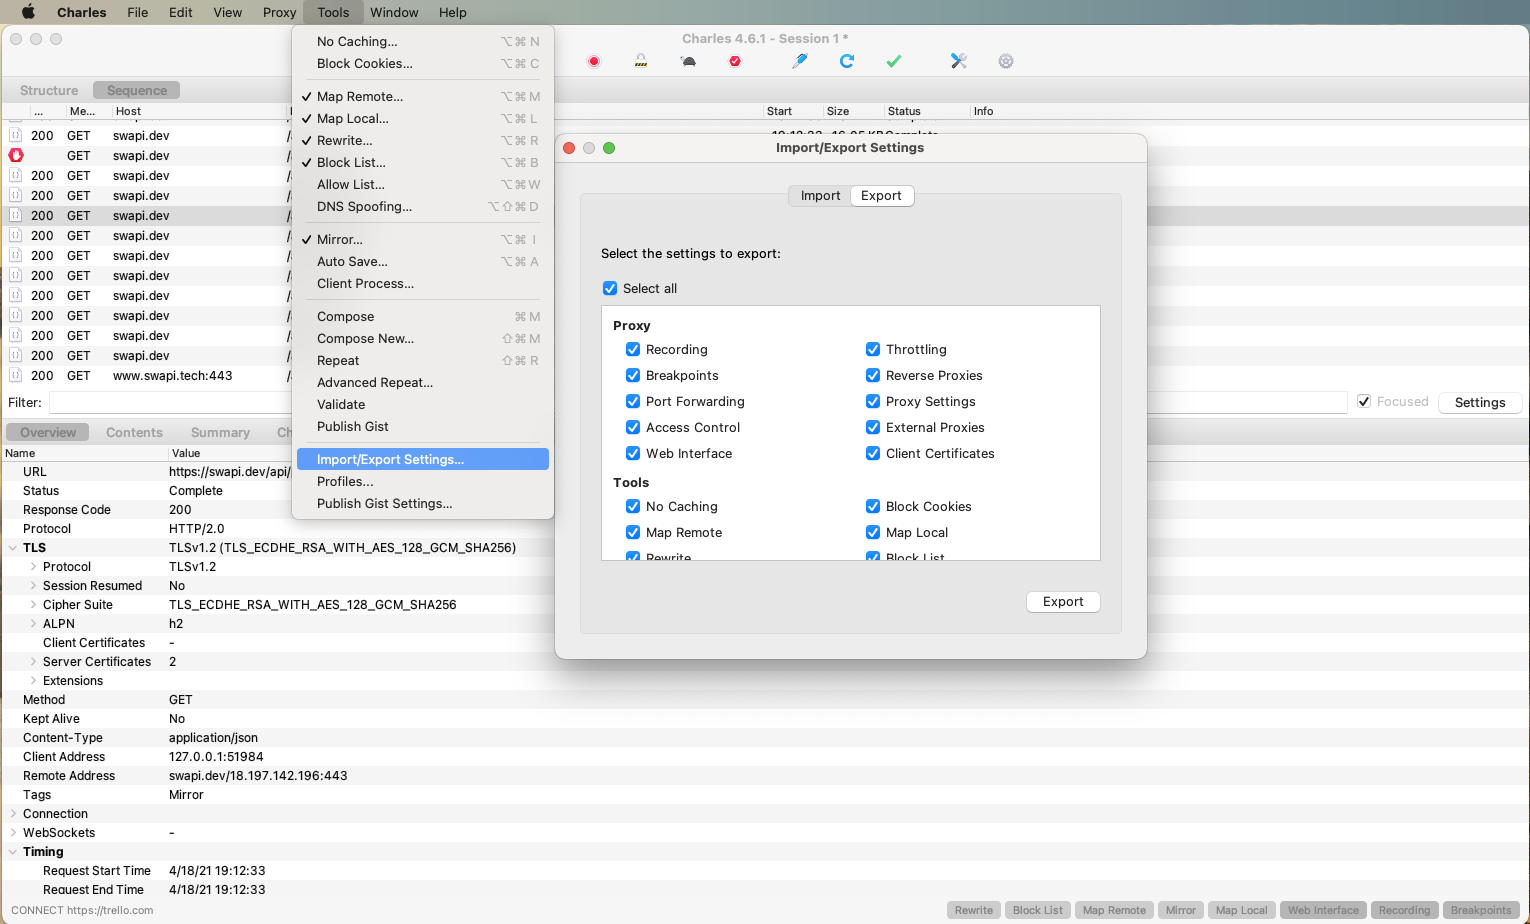
- When you open any tool from the menu bar, you end up in a window with two options, Import and Export. That lets you perform the action in a specific tool.
- You can also open Tools ▸ Import/Export Settings. Choose whether you want to Import or Export settings.

Congratulations! Now that you’ve finished this tutorial, you have a deeper understanding of some of Charles Proxy’s more advanced features.
Where to Go From Here?
You can download the project materials and additional resources using the Download Materials button at the top or bottom of this tutorial.
In this tutorial, you learned how to:
- Use Charles as a proxy to observe the network and rewrite the data along the way.
- Use mapping and breakpoints to manipulate data.
- Add different rule sets to rewrite requests and responses.
- Save all the network activities to disk.
- Share reports with others.
From here, take a look at the Charles documentation if you want to explore in greater depth. For more on iOS networking, check out the Networking with URLSession video course.
We hope you enjoyed this tutorial. If you have any questions or comments, please join the forum discussion below!