SwiftUI Button Tutorial: Customization
Learn how to easily customize your app buttons style with the minimum effort by leveraging the latest SwiftUI button modifiers. By Andy Pereira.
Custom Menu
Menu is another type of button provided by SwiftUI. While it works nearly the same as a regular button, it has some differences in building custom styles.
Open MenuStyle.swift to start working on your style. Replace makeBody(configuration:) with the following:
func makeBody(configuration: Configuration) -> some View {
  HStack {
    Spacer()
    // 1
    Menu(configuration)
    Spacer()
    Image(systemName: "chevron.up.chevron.down")
  }
  .padding()
  // 2
  .background(Color.mint)
  .cornerRadius(8)
  // 3
  .foregroundColor(.white)
}
While this seems nearly the same as the custom button style you made earlier, it does have two differences:
- Instead of using the label of your configuration, you provide the configuration to another initializer for
Menu. This will pick up all action handlers and bindings needed to keep the menu working. - Both the background and foreground don’t have logic around a pressed state. The menu will take care of some of these default behaviors for you.
Next, add a static member lookup extension for your menu style at the end of the MenuStyle.swift:
extension MenuStyle where Self == CustomMenu {
  static var customMenu: CustomMenu { .init() }
}
Finally, open KitchenSinkView.swift. In menuButtonsView, replace the following code:
Menu(menuSelection ?? "Select Language") {
  ForEach(menuOptions, id: \.self) { menuOption in
    Button {
      menuSelection = menuOption
    } label: {
      Text(menuOption)
    }
  }
}
With the following:
Menu(menuSelection ?? "Select Language") {
  ForEach(menuOptions, id: \.self) { menuOption in
    Button {
      menuSelection = menuOption
    } label: {
      Text(menuOption)
    }
  }
}
.menuStyle(.customMenu)
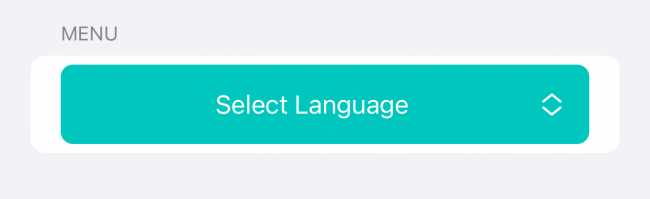
Adding a custom menu style is as easy as adding a custom button style.
Build and run. Your menu is now styled with a green background and stacked chevrons ;].
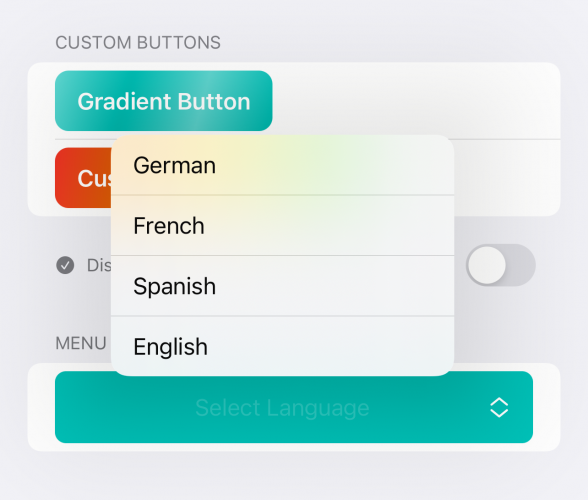
When you select the menu, you’ll see the text changes color to represent a selected state:
Nice work. You just learned the ingredients to customizing buttons in SwiftUI :]
Where to Go From Here?
You can download the completed version of the project by clicking the Download Materials button at the top or bottom of this article.
You can learn more about buttons in Apple’s documentation.
We hope you enjoyed this tutorial. If you have any questions or comments, please join the forum discussion below!