iPadOS 15 Tutorial: What’s New for Developers
See what’s new in iPadOS 15 and take your app to the next level with groundbreaking changes! By Saeed Taheri.
Pointer Improvements
Apple introduced pointer support in iPadOS 13.4. This year, it got its first set of enhancements.
Band Selection
The first addition is band selection, a new pointer-specific multi-selection experience familiar to Mac users.
In iPadOS 15, when you click and drag in a non-list UICollectionView, the pointer stretches into a rectangle, and the collection view selects the items the rectangle encompasses.
Any UICollectionView that supports the existing one and two-finger multi-selection gestures via the shouldBeginMultiple Selection Interaction API gets this behavior automatically in iPadOS 15.
For anything apart from a UICollectionView, the new UIBandSelectionInteraction API allows you to easily adopt this experience.
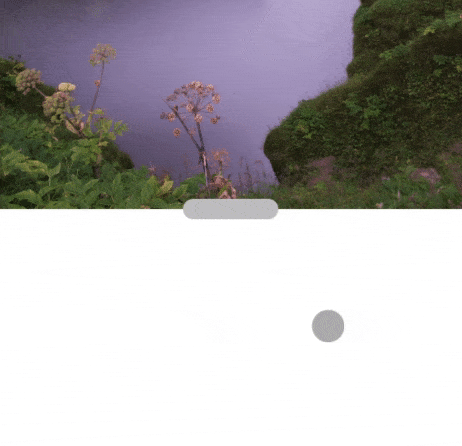
Here’s a GIF from the Files app:

Pointer Accessories
The second addition to the system pointer is the ability to attach accessories.
In iPadOS 14 and earlier, you could provide a custom shape for the pointer if you desired. However, for most use cases, you only need to add certain accessories around the system pointer.
If you look closely at the note detail page, there’s a handle at the bottom of the image. If you touch and drag it, you can resize the image. You’ll add accessories to the pointer, so it’s clearer that you can resize the image vertically.

In NoteViewController.swift, find dragHandler. At the end of the didSet block, add:
let interaction = UIPointerInteraction(delegate: self)
dragHandler.addInteraction(interaction)
This creates a new pointer interaction, sets the NoteViewController as its delegate and adds it to the interactions list of dragHandler.
To silence the compiler’s nagging, at the end of the current file, add this:
extension NoteViewController: UIPointerInteractionDelegate {
  // 1
  func pointerInteraction(
    _ interaction: UIPointerInteraction,
    styleFor region: UIPointerRegion
  ) -> UIPointerStyle? {
    // 2
    let preview = UITargetedPreview(view: dragHandler)

    // 3
    let style = UIPointerStyle(effect: .lift(preview))

    // 4
    style.accessories = [
      .arrow(.top),
      .arrow(.bottom)
    ]

    // 5
    region.latchingAxes = .vertical

    return style
  }
}
In the code above, you:
- Override
pointerInteraction(_:styleFor:). The system consults this method for a pointer’s style on a certain view. - Create a targeted preview with
dragHandler. You know this API since you used it to customize the pinch transition. - Create a pointer-style object with the
lifteffect. Other options arehighlightandhover. Lift looks best for this interaction. - Add accessories around the pointer. Here, you added two arrows to the top and bottom of the pointer. You’re not limited to this, though. One can use a custom shape with a custom position.
- Having the ability to set
latchingAxesis new this year. When set, the style associated with this region will lock in and allow free-form movement along the specified axes.
Finally, build and run. If you’re testing in the simulator, select Input ▸ Send Pointer to Device from the I/O menu.
Look how cool the pointer interaction is!
Where to Go From Here?
You can download the completed project files by clicking Download Materials at the top or bottom of this tutorial.
While you’ve done a lot today, iPadOS 15 is a solid release and there’s more to learn.
Here are some places to consult:
- The iPadOS Multitasking video course on raywenderlich.com.
- The Pointer Interaction Tutorial on raywenderlich.com.
- Apple WWDC sessions, including Take your iPad apps to the next level.
- Apple sample projects from WWDC, like Focus on iPad keyboard navigation.
We hope you enjoyed this tutorial. If you have any questions or comments, please join the forum discussion below!