Tuist Tutorial for Xcode
Learn how to use Tuist to create and manage complex Xcode projects and workspaces on-the-fly. By Mark Struzinski.
Linking the Framework in MovieInfo
At this point, you need to let Tuist know about the new framework so it can generate and link it. Change your directory to go back to the root of the project, then run the edit command from Terminal again:
cd ..
tuist edit
When Xcode opens, select Project.swift.
Now, in dependencies, add a dependency to the array:
.project(
  target: "NetworkKit",
  path: .relativeToManifest("NetworkKit"))
This tells Tuist to generate and link the NetworkKit framework. It also passes the relative path of the Tuist project file for the framework. With this, Tuist can generate both your main project and the framework project and link them. Cool! :]
Generating and Updating the Codebase
OK, it's showtime! From Terminal, press Control-C to exit Tuist, then generate your project again:
tuist generate
Now, open the MovieInfo workspace. You'll see two projects, MovieInfo and NetworkKit:

Since you removed the networking code from the MovieInfo target, you need to let your view model know about NetworkKit. Import this framework at the top of MovieListViewModel.swift:
import NetworkKit
Since NetworkKit has a new copy of Network.swift, it doesn't have your API key yet. Open Network.swift and replace <YOUR_API_KEY_HERE> with your API key.
Select the MovieInfo scheme. Build and run. The app will look the same as before but you're now using an independent networking framework, completely configured by Tuist. :]
Adding a Unit Test Target
Next, you'll add some unit tests and the appropriate target for them. Of course, you'll use Tuist to do this!
Start by moving the MovieInfoTests directory from AdditionalTargetFiles into the root project directory. If you peek inside, you'll see one test suite in Source and an Info.plist inside Resources. This is enough to define your test target.
Enter edit mode again with Tuist:
tuist edit
Add a definition for the test target to targets with the following code:
Target(
  name: "MovieInfoTests",
  platform: .iOS,
  product: .unitTests,
  bundleId: "<YOUR_BUNDLE_ID_HERE>",
  infoPlist: "MovieInfoTests/Resources/Info.plist",
  sources: ["MovieInfoTests/Source/**"],
  dependencies: [
    .target(name: "MovieInfo")
  ])
This adds a unit test target to MovieInfo.
You'll notice the product type is .unitTests and it has a dependency on MovieInfo. Make sure you replace the bundleId with your own bundle ID, which is different from the ones used for the MovieInfo and NetworkKit targets.
Next, it's time to regenerate your project. Press Control-C to end editing and run the generate command again:
tuist generate
You'll see the following output:
Generating workspace MovieInfo.xcworkspace
Generating project MovieInfo
Generating project NetworkKit
Project generated.
Total time taken: 0.150s
Open the workspace. You'll see the MovieInfoTests target under MovieInfo:
Press Command-U to run the tests. They'll pass.
Next, you'll use Swift Package Manager to add a feature to the app that requires a third-party library. You'll use Tuist to manage this!
Adding Poster Images
Your final goal is to add a new feature to the app: poster images for the movies in the list. You'll use the third-party library FetchImage to easily lazy-load the images based on poster paths you'll get from the MovieDB API.
Adding a Swift Package
First, you'll add a dependency on FetchImage. You'll need to add two declarations to Project.swift: a package declaration and a new target dependency.
Adding the Package Definition
Open Tuist in edit mode by running:
tuist edit
Next, open Project.swift. In the initialization of Project, add the following argument after organizationName:
// 1
packages: [
  // 2
  Package.remote(
    // 3
    url: "https://github.com/kean/FetchImage.git",
    // 4
    requirement: .upToNextMajor(
      from: Version(0, 4, 0)))
],
The code above does the following:
- Declares a
packagesarray argument. This is optional and wasn't included in the original setup because you didn't need it until now. - Declares a remote
Package. - Defines the remote URL for the package definition.
- Defines version requirements. For this package, you're using the Swift Package Manager default: up to next major version, starting at the current version of FetchImage.
Adding the Package Dependency
Still in Project.swift, add the package as a dependency to the target. Inside the MovieInfo target declaration, add the following to the end of the dependencies array:
, .package(product: "FetchImage")
This lets Tuist know MovieInfo has a dependency on FetchImage. Save Project.swift.
Now, generate your project again. In Terminal, press Control-C to end the Tuist editing session. Enter the generate command:
tuist generate
You'll see output like the following:
Generating workspace MovieInfo.xcworkspace
Generating project MovieInfo
Generating project NetworkKit
Resolving package dependencies using xcodebuild
2021-05-27 21:40:21.126 xcodebuild[13105:459506] [MT] DVTPlugInManager: Required plug-in compatibility UUID F56A1938-53DE-493D-9D64-87EE6C415E4D for GraphQL.ideplugin (com.apollographql.xcode.graphql) not present

Project generated.
Total time taken: 7.779s
Open the workspace and you'll see the FetchImage is fetched and ready to use!
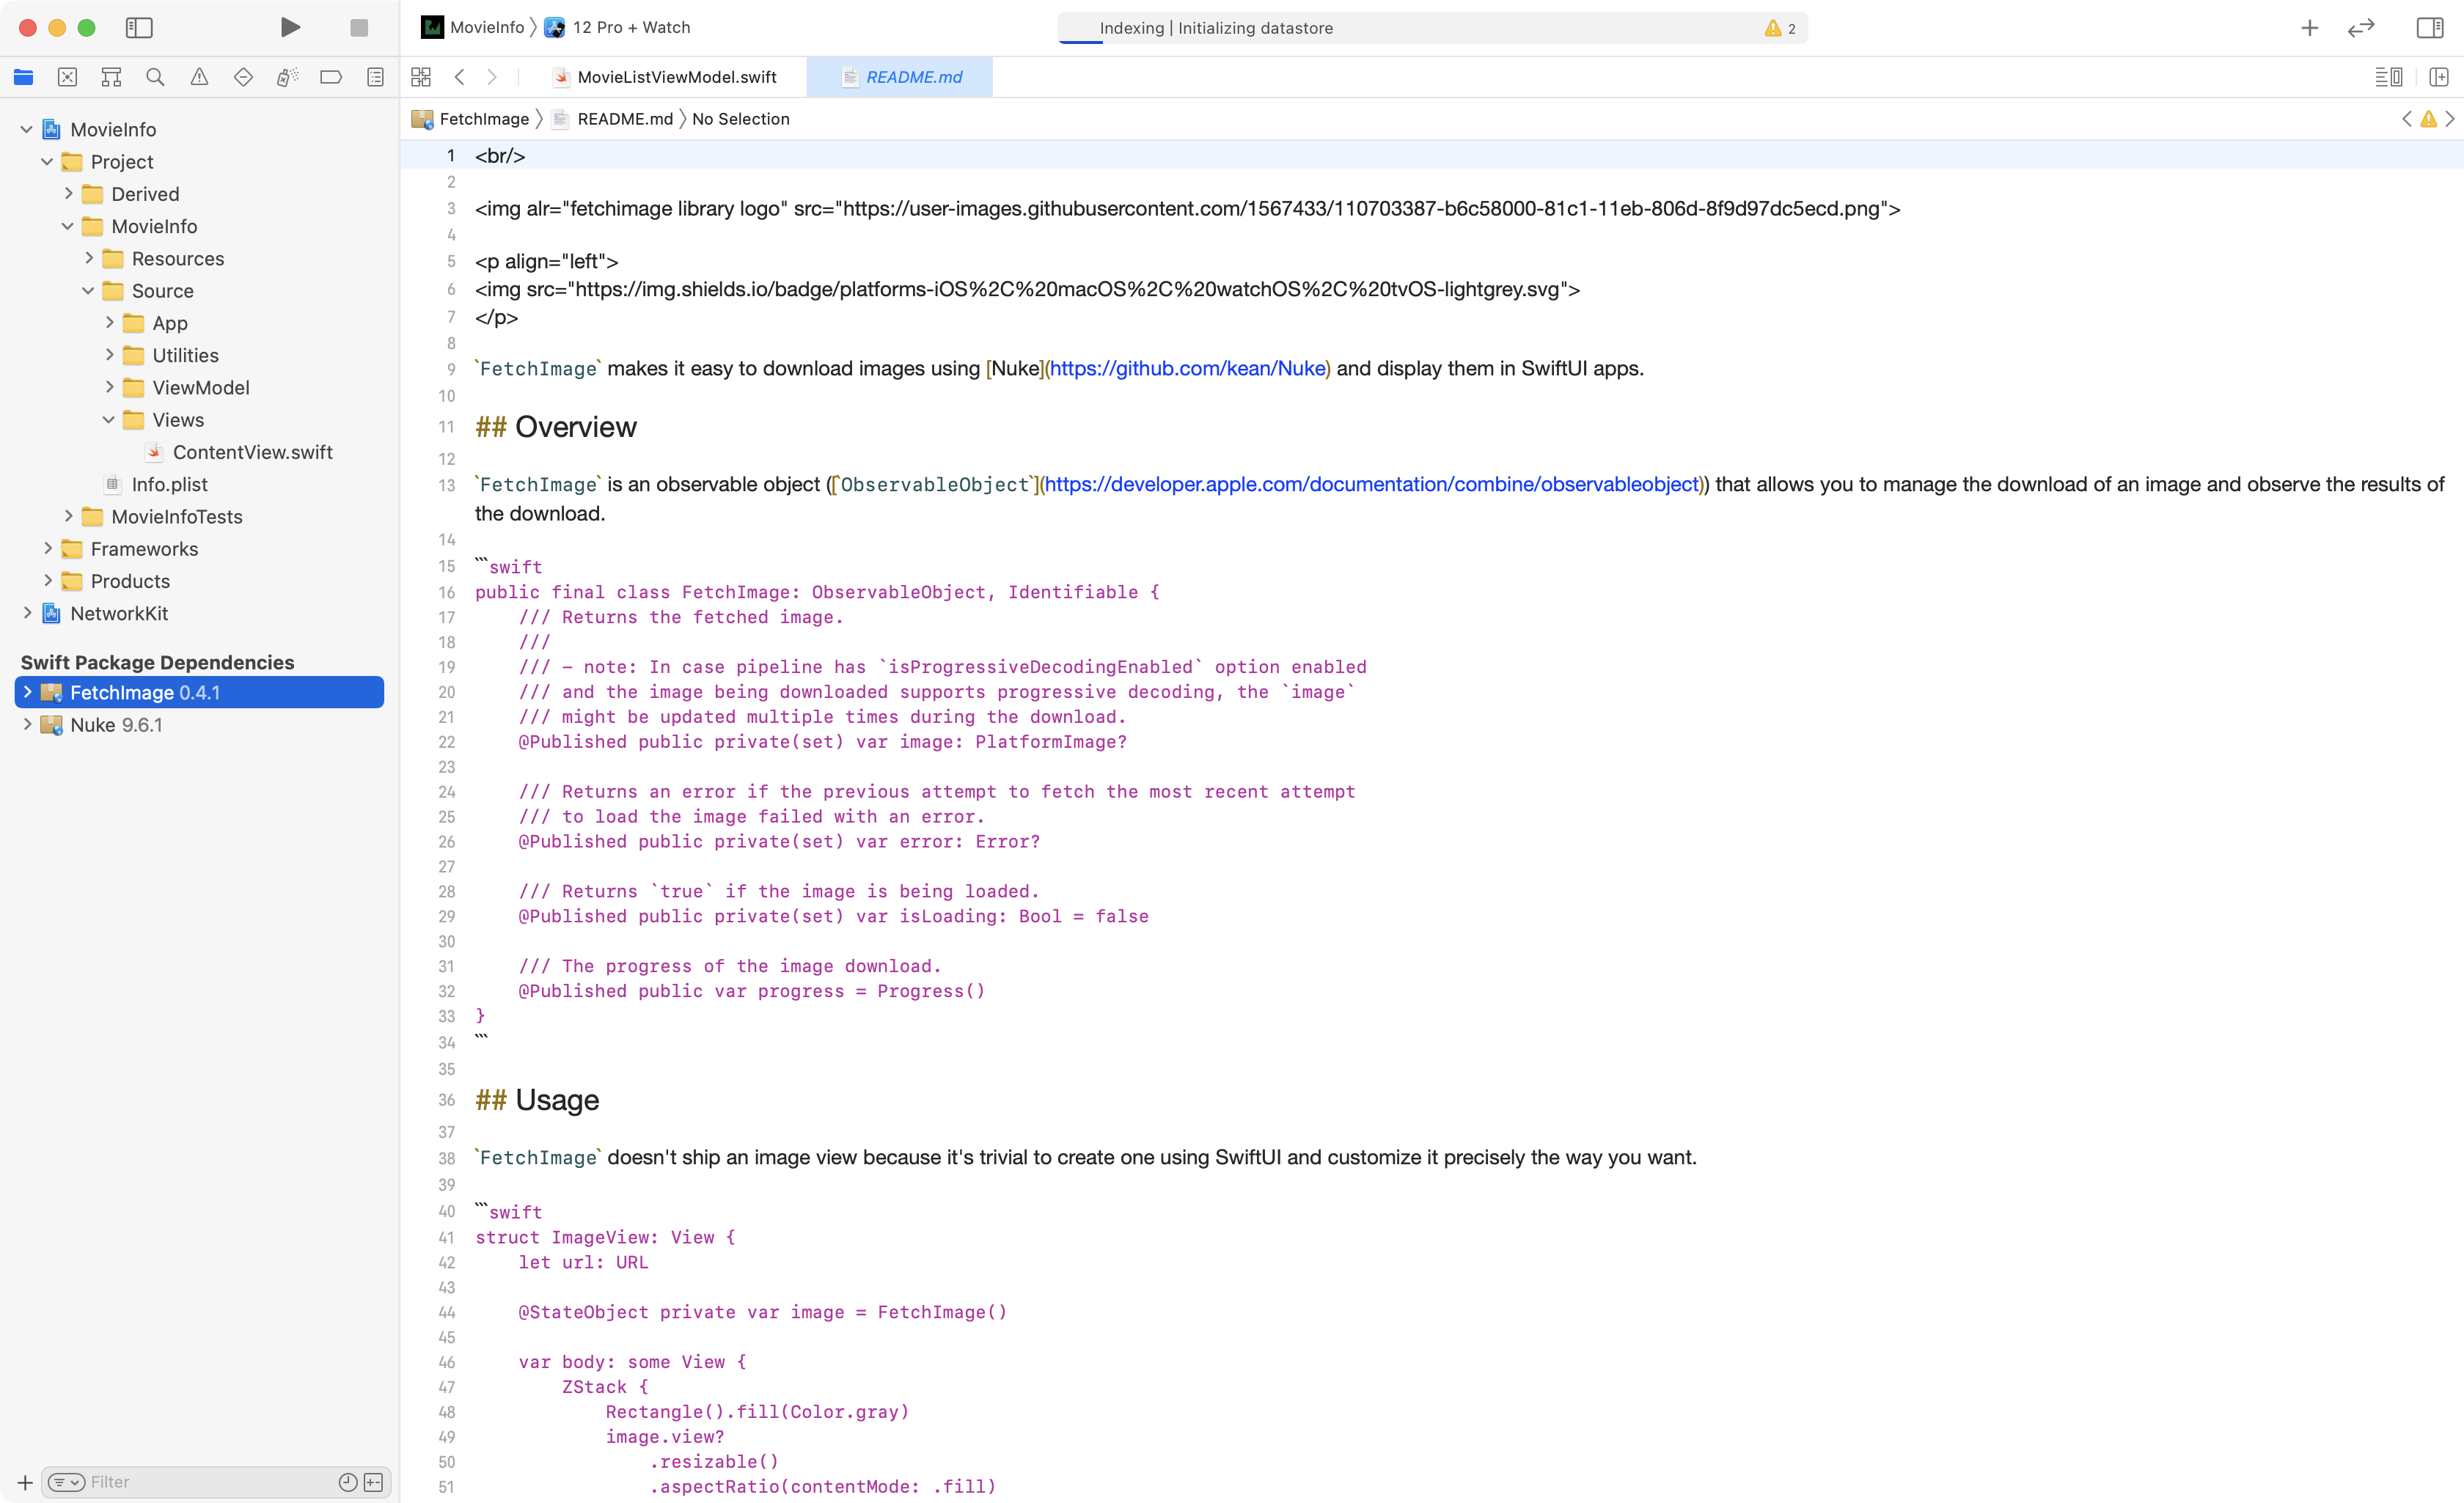
Note the Nuke package in the list. Nuke is a dependency of FetchImage.
Implementing Poster Images in the List
OK, now that you've initialized the package, you'll use it to implement image fetching in the list.
Setting up an ImageView
Your next step is to add a reusable image view that uses FetchImage to lazily load images. ImageView is already in the starter project.
To do so, follow these steps:
- Move ImageView.swift from AdditionalTargetFiles to MovieInfo/Source/Views. It should sit alongside ContentView.swift.
- Drag ImageView.swift into the Views group in MovieInfo/Source/Views in the Xcode project.
Integrating the ImageView
Your next step is to use ImageView in ContentView.
Open ContentView.swift. Inside List, add the following above the Text view:
// 1
if let url = movie.posterURL {
  // 2
  ImageView(url: url)
    .frame(width: 92, height: 138)
}
This performs the following:
- Checks if there is a URL for the movie. This is an optional property from the API, so it might be
nil. - If a poster URL is present, use
ImageViewand pass it for loading.
Build and run. You'll now see the lazy-loaded poster images!

Congratulations! You've built up an entire project structure in Tuist, which gives you a portable setup with a ton of functionality.